
6 Ways to Turn on On-Screen Keyboard in Windows 10
Way 1: Open On-Screen Keyboard in PC settings.
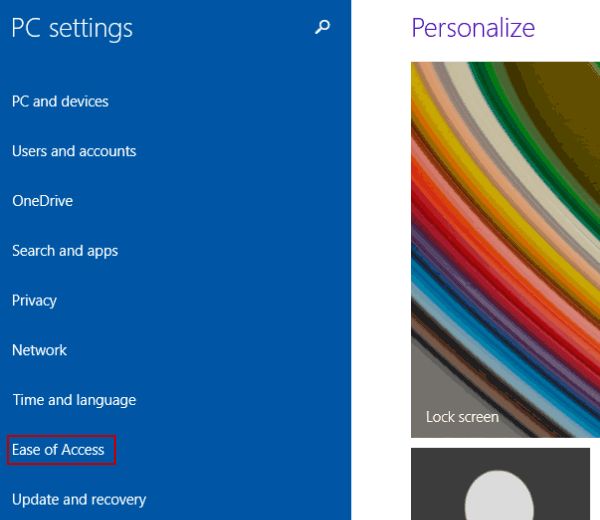
Step 1: Enter PC settings.
Step 2: Select Ease of Access in the settings.
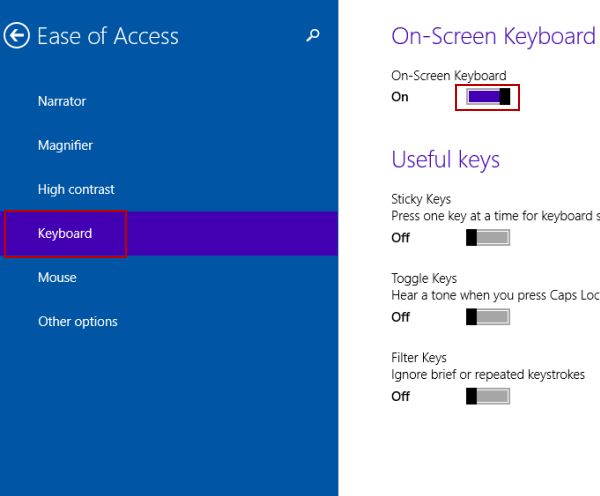
Step 3: Choose Keyboard, and tap the switch under On-Screen Keyboard to turn it on.
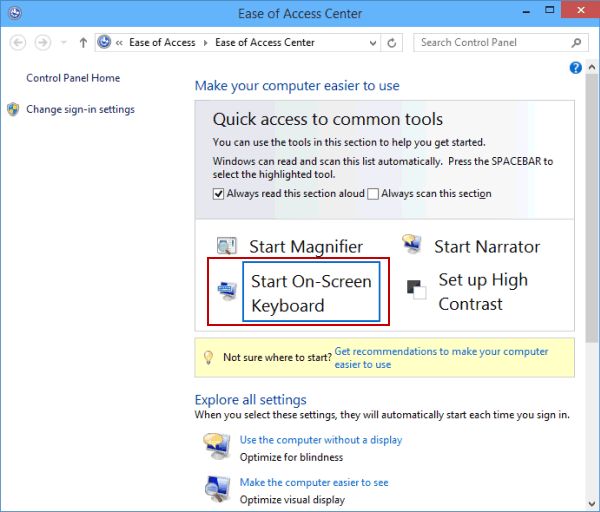
Way 2: Turn On-Screen Keyboard on in Ease of Access Center.
Press Windows+U to open the Ease of Access Center, and choose Start On-Screen Keyboard.
Way 3: Open the keyboard through Search panel.
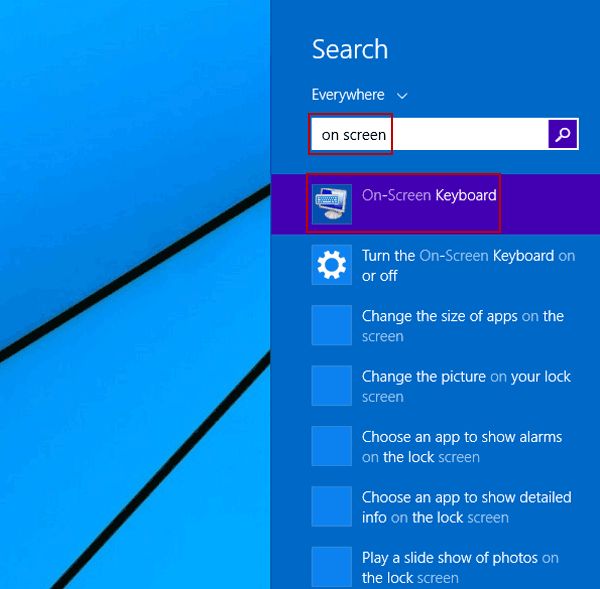
Step 1: Press Windows+C to open the Charms Menu, and select Search.

Step 2: Input on screen (or on screen keyboard) in the box, and tap On-Screen Keyboard in the results.
Way 4: Turn on this keyboard by means of Run.
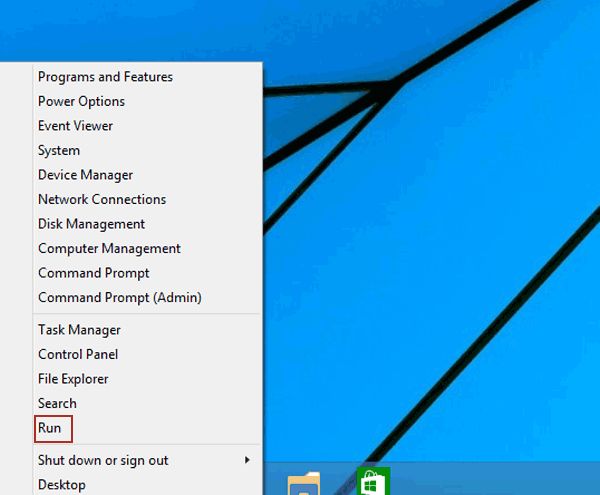
Step 1: Right-click the lower-left corner, and choose Run in the Quick Access Menu.
Step 2: Type osk and tap OK in the Run dialog.

Way 5: Open this keyboard with the help of Command Prompt.
Step 1: Press Windows+X to open the Quick Access Menu, and select Command Prompt.

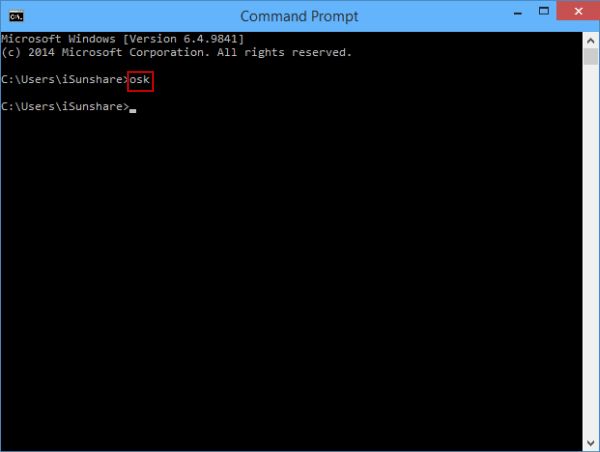
Step 2: Enter osk in the Command Prompt and press Enter.
Way 6: Turn on On-Screen Keyboard using Windows PowerShell.
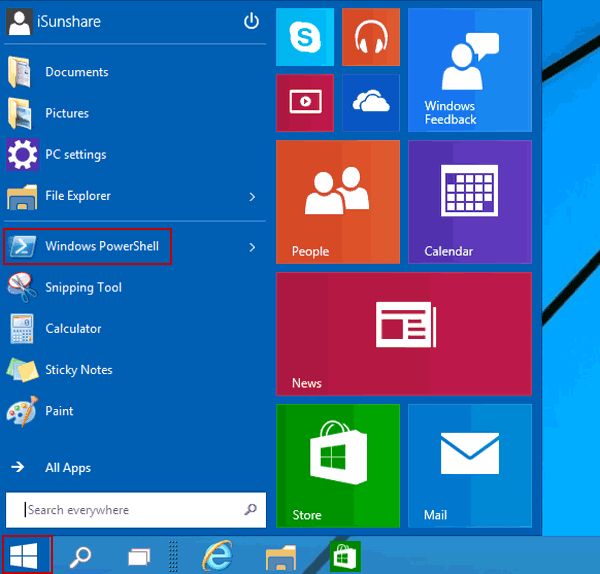
Step 1: Click the Start button and choose Windows PowerShell in the Start Menu to open it.
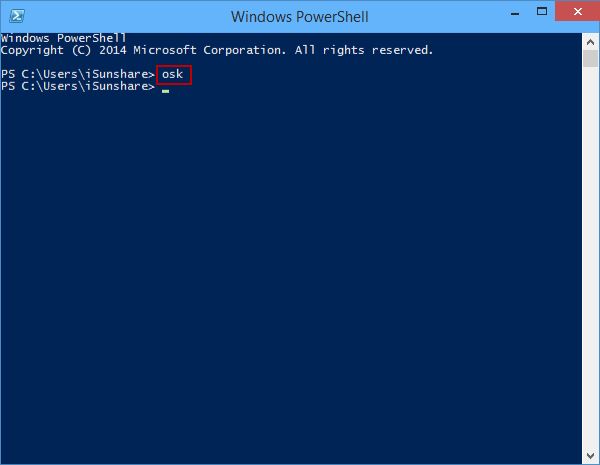
Step 2: Type osk in Windows PowerShell window and hit Enter.
Related Articles: